Posts in Tag

felt

Felt is such a versatile product for any crafter! Whether by the sheet or the roll, this 100% polyester material can be used for ornaments, wall hangings, banners or even tote bags.

Craft Felt Sheets

These regular weight (180g) 9″x12″ sheets are available in 22 colours and are perfect for so many things! Check out the cute animal masks and keychain DIYs below for an idea.

Felt by the Meter

Felt by the meter is available in regular weight and medium weight.

36″ width | regular weight (180g) | 20 colours

72″ width | regular weight (180g) | 5 colours

36″ width | medium weight (380g) | 13 colours

The Fun With Felt masks are a great no-sew project to do with the kids.

A glue gun can be used with the older ones or get yourself some Beacon Felt Glue for the younger ones!

Masks not your thing? Everybody needs a keychain! Why not give this sweet little project a whirl? Make them all for yourself…and as gifts!

Looking for something to help decorate your home for autumn? Want to be creative and get the kids involved? This Felt Harvest Wreath is the perfect no-sew project!

SUPPLIES
• Wreath Ring
• Felt
• Fabric Of Your Choice
• Trim or Ribbon
• Scissors
• Fabric Glue

Step 1:
Cut out your leaves using the template provided or create your own!

Step 2:
For leaf shape #4 (see template), put a dab of glue on one end and pinch together until secure. This will give the leaf a more 3D effect.

Step 3:
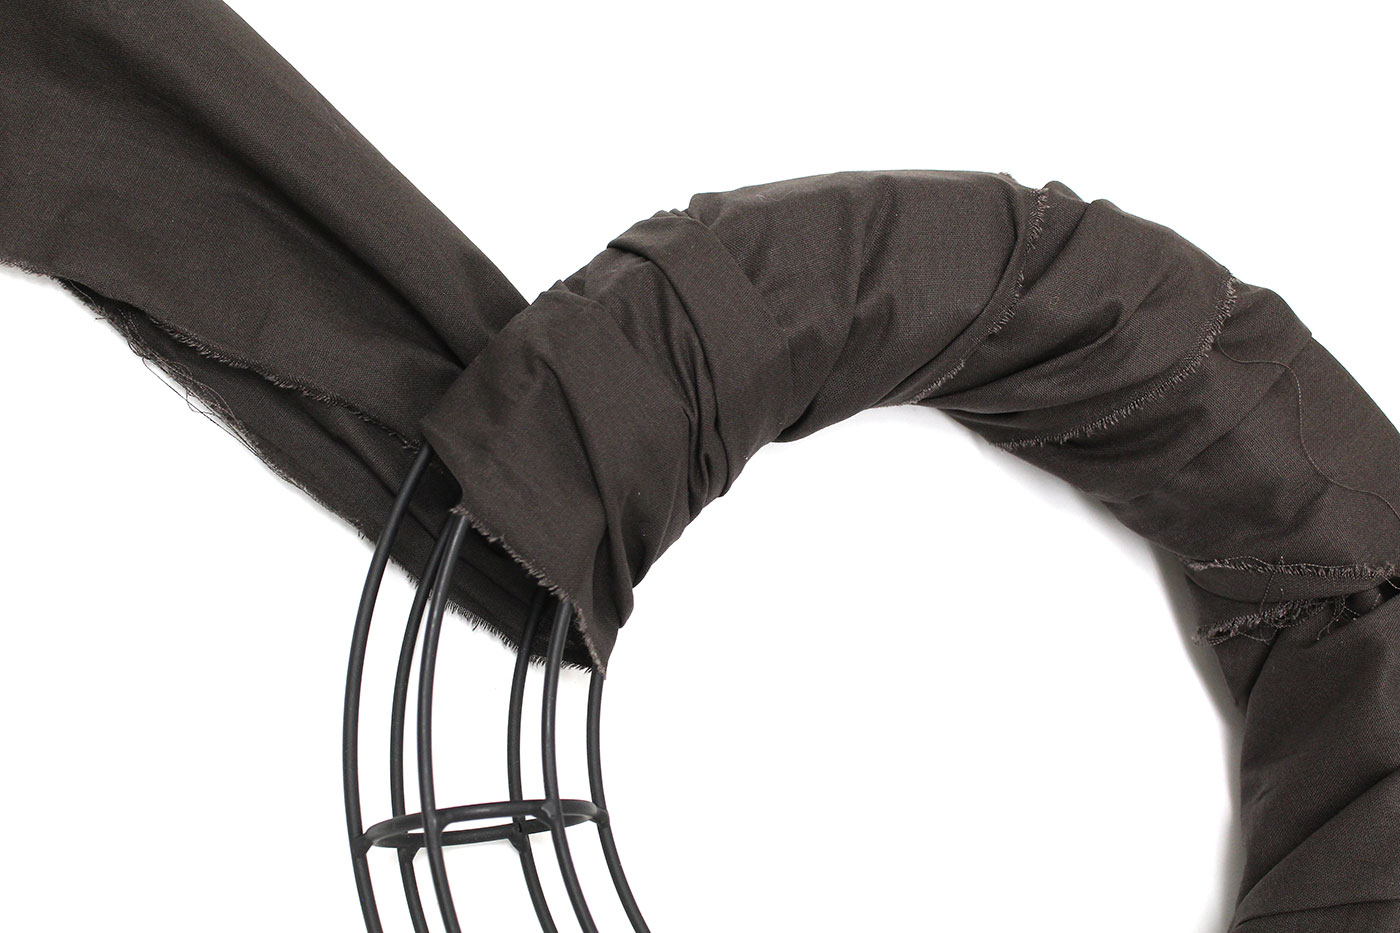
Cut strips of fabric and wrap around your wreath frame. Secure with glue.

Step 4:
Wrap decorative ribbon or trim over the fabric. Secure with glue.

Step 5:
Layer leaves on top of the fabric and glue in place.

TIP: Use pins to map out placement of leaves before securing with glue.

Download project instructions and leaves template here.

Here’s a simple, yet fun project for some quick DIY decorations using felt and few notions!

Once you’ve got all your items together, cut out the pattern shapes.

Next, pin the shapes to the appropriately coloured felt.

Once pinned, cut out all the pieces.


Once cut, arrange all the pieces in preparation for gluing.

Glue down all the pieces of felt using a glue gun, or similar adhesive.

Decorate with sequin trim, google eyes or use your creativity to embelish your spooky shapes your own way!


Don’t they look spooktacular?! Decorate windows, walls and doorways using thread to hang or use them to add fun to your party’s snack table!

Download the pattern shapes here: Pumpkin | Ghost | Spider.

Let imaginations run wild with these cute felt Deer, Fox and Raccoon mask patterns.

Gather the materials you will need for this project.

Step 1:

Cut out all the shapes from the pattern. Pin your paper outlines to the appropriate colour felt and cut around.

Step 2:

Layer and glue the pieces of felt on top of one another. Using the picture reference as a guide.

Step 3:

To tie the mask, you will need to measure out approximately two 15” pieces of ribbon. Glue each piece (on the back side) near the edge of the mask, around where the middle of the eye cut outs are. Once all your glue has dried, try your new felt mask on! If the ribbon is too long after tying a bow, cut off any excess.
 

Download the printable PDF of patterns here.
Download the printable PDF of instructions here.

It doesn’t get much cuter than this Bunny Bag project! A simple DIY that will make everyone happy … especially those who receive them full of treats! Get a head start on Easter crafts with this simple project.

Download the printable pattern here and the step-by-step instructions here.

What’s a beverage without a cozy or charm? Dull!  Jazz up your drinks for Canada’s birthday with these wine glass charm and drink cozy instructions. Want a different look? Choose from a wide variety of ribbons and patches in stores to create for any occasion.

Download a printable PDF here.

1 2 Page 2 of 2