Felt Harvest Wreath DIY

Looking for something to help decorate your home for autumn? Want to be creative and get the kids involved? This Felt Harvest Wreath is the perfect no-sew project!

SUPPLIES
• Wreath Ring
• Felt
• Fabric Of Your Choice
• Trim or Ribbon
• Scissors
• Fabric Glue

Step 1:
Cut out your leaves using the template provided or create your own!

Step 2:
For leaf shape #4 (see template), put a dab of glue on one end and pinch together until secure. This will give the leaf a more 3D effect.


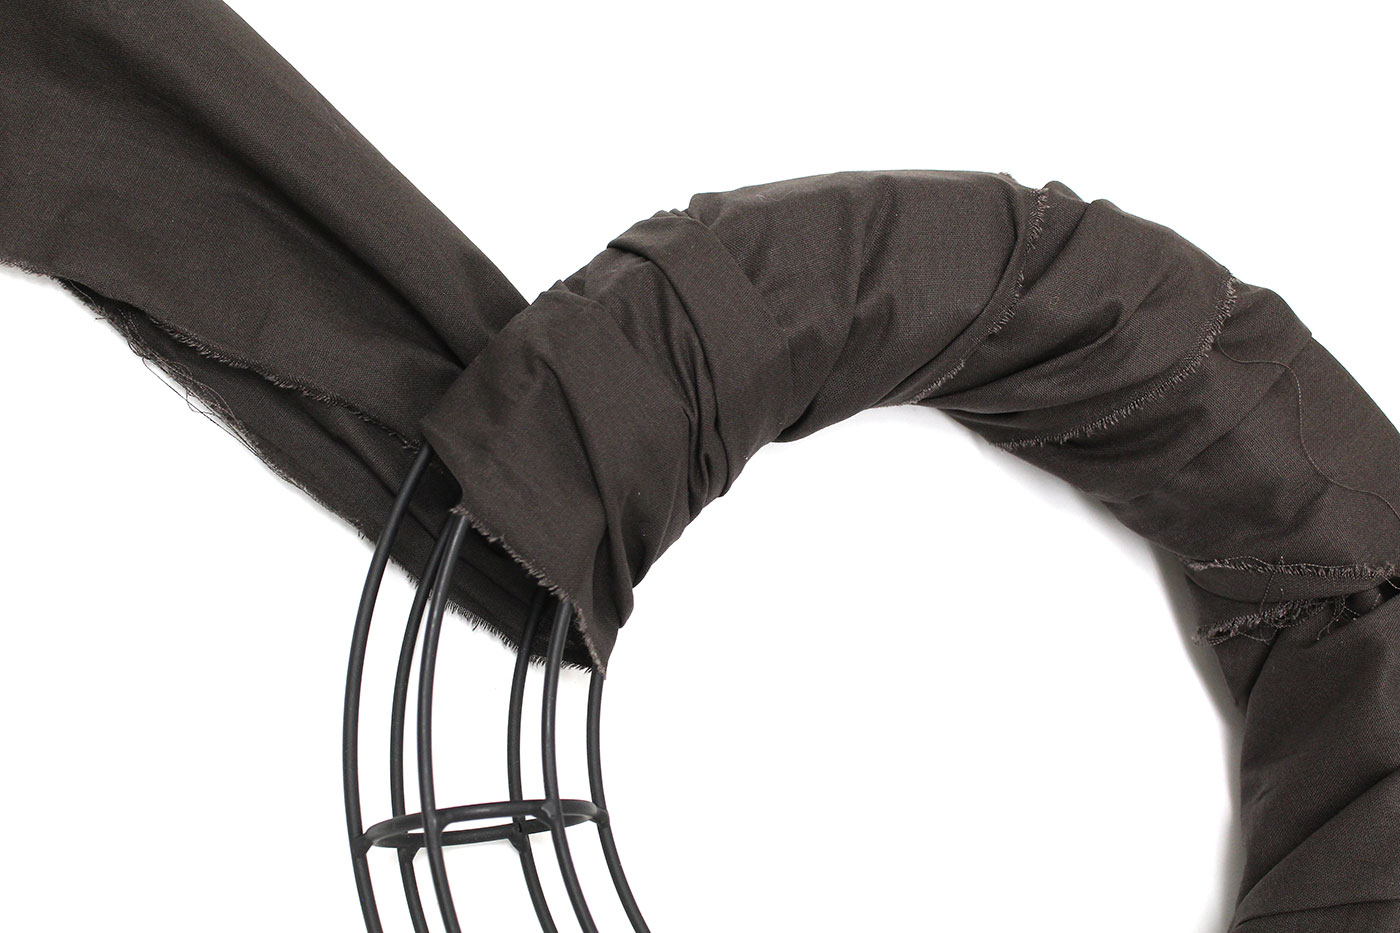
Step 3:
Cut strips of fabric and wrap around your wreath frame. Secure with glue.
Step 4:
Wrap decorative ribbon or trim over the fabric. Secure with glue.

Step 5:
Layer leaves on top of the fabric and glue in place.
TIP: Use pins to map out placement of leaves before securing with glue.

Download project instructions and leaves template here.


