Garden Apron DIY

Hello avid gardeners! Create a handy & stylish ‘helping hand’ with this easy Garden Apron DIY.


What You Need
Belting
1 pack of Bias Tape (3 yards)
All Purpose Thread
Parachute Clip
Outdoor Fabric (0.5m)
Sewing Machine
Scissors
Pins
Pencil
Ruler
What You Do
Measure and cut fabric to size 10.25” x 35.5” (26cm x 90cm).
Fold fabric in half and sew bias tape along raw edge. Sew as close to edge of bias tape as you are comfortable. Use pins, if needed, to hold bias tape in place.


Note: the folded edge of fabric is not sewn with bias.
Fold your fabric 6.25” (16cm) up & pin in place. Sew along each side, 1/8” from edge, using bias as a guide. This will create one large pocket.

Sew a triangle reinforcement at the edge of the fold. See sewing guide.

Let’s create the pockets!
Measure & mark two lines, equally spaced apart. Sew fabric together, using your pencil guide lines. You can use an eraser to remove pencil marks once sewn.


Let’s create space for the belt!
TIP: Be sure your belting material will fit in the folded “tube” you’re about to create, as well as the parachute clip you will attach. Make adjustments as needed when creating.
Flip your project over so your newly created pockets are face down. Fold down the top edge, the folded edge of the fabric not sewn with bias, to 1-3/8”.

Sew 1/4” from edge of fold. Now feed the belting material through the waistband ‘tube’.


Let’s attached the parachute clip!
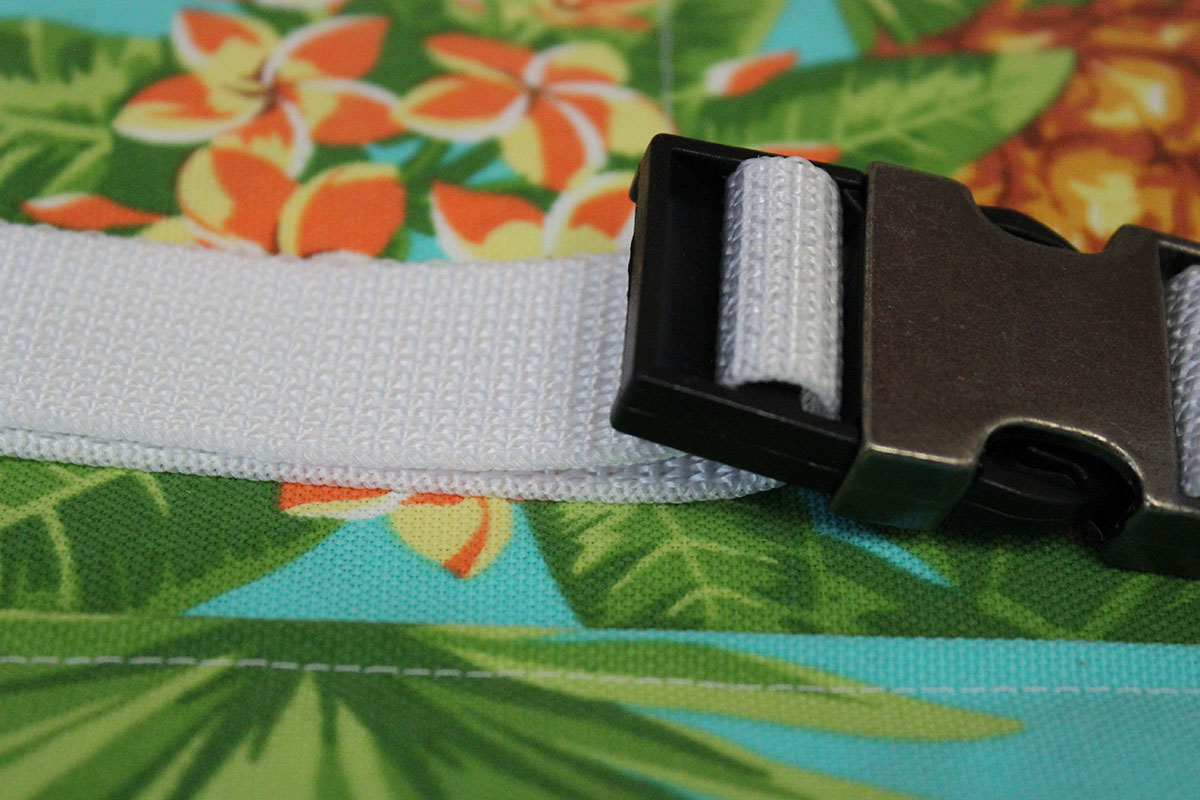
Using a parachute clip will allow you to adjust the size of your apron’s belt. Loop the belting material through the two slits and pull the end tight.


TIP: Your belting can be any length. Use more or less belting material to suit your needs.
Loop belting through other side of clip & sew in place. See sewing guide for help.


Adjust the belt to fit your waist… and VOILA! Your Garden Apron is now complete and ready to use!


